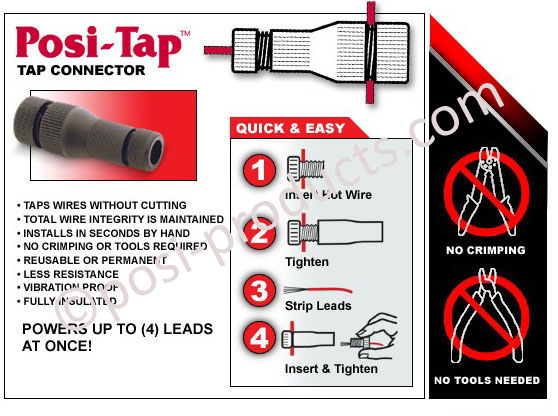
OK, I'm attempting to pull switched power for my GPS (I made my own cool little dash shelf to install it front and center above the tach and speedo) from the tail light. I heard that is the best place to get switched power. I checked the headlight wiring last night but it is so well encased in plastic wrap I don't want to start cutting into it. The tail wires are exposed and obvious.
A couple of questions:
1. How do you pull out the tail light assembly? I removed the seat and tools and looked back the "tunnel". Standing on my head I could see two Phillips headed screws that I could reach to remove -- but am afraid I'd never get them back in as I'd be working blind the entire time. So, do you work blind through the "tunnel" to take out the two screws or do you disassemble the back plastic some how after taking off the carrier? Not sure I want to do all that. It appears that the entire back plastic piece that houses the tail light actually starts at the seat and wraps all the way around to become the fender, all as one single piece. Ideas? Experience? Stories?
2. Which wire is switched power? Each tail light has a Gray and White-w-black-stripe wire, along with a Black-w-white-stripe wire. Based on the position of the Black-w-white wire, I believe those to be ground. Off to the left side are three crimped caps. One crimps together three White-w-black-stripe wires. One crimps together six Black-w-white-stripe wires. One crimps four Gray wires. By removing the plastic cap from the correct crimp, I can add my wire and pull switched power. There are also three different sized and colored 2-piece connectors. There is a larger Black plastic connector with a Green wire and a Black-w-white-stripe wire. The Green wire apparently is just passing through because I can't see it connected to anything. There is a slightly smaller Gray plastic connector with a solid Black wire and a Black-w-white-stripe wire. Almost out of play due to its position is a White plastic connector with a Gray wire and a Black-w-white-stripe wire. (I'm guessing the White plastic connector is for the license plate wire due to its location).
Once I get the tail light out of the housing, this will be easy. So the bigger question is, do you work blind through the "tunnel" to release it, or do you remove some tupperware for easier access?


