
My 2011 DL650 12764 miles tends to lose battery voltage, I even have it on a trickle charger, but if I forget that It loses volts, I do have a 12v cigar outlet for plugging in a camera and two small led spot lights with a on off switch. I also have a USB outlet for the GPS to plug into. All of those are wired straight to the battery. My question is, have anyone installed a 12v switchable fuse box to their bikes. I want one to be able to only turn o accessories when the bike is turned on. How do I install one. Thanks.

strompet42

Auxiliary fuse box (block)
strompet42
Discussion starter
117 posts
·
Joined 2013
- Add to quote Only show this user
My 2011 DL650 12764 miles tends to lose battery voltage, I even have it on a trickle charger, but if I forget that It loses volts, I do have a 12v cigar outlet for plugging in a camera and two small led spot lights with a on off switch. I also have a USB outlet for the GPS to plug into. All of those are wired straight to the battery. My question is, have anyone installed a 12v switchable fuse box to their bikes. I want one to be able to only turn o accessories when the bike is turned on. How do I install one. Thanks.
445 posts
·
Joined 2011
Yes, Eastern Beaver is a popular brand, although I recall seeing a recommendation for some other brand. Sorry I can't recall what it was.
2008 Suzuki DL650A VStrom "Bucephalus"
2008 Suzuki DL650A VStrom "Bucephalus"
strompet42
Discussion starter
117 posts
·
Joined 2013
Thanks , but I think I will get the Thunder box.
528 posts
·
Joined 2022
FZ-1 Fuzeblock
have put them on 3 bikes.
highly recommend.

have put them on 3 bikes.
highly recommend.
Fuzeblocks FZ-1 Distribution Block-FBLK-FZ1
www.fuzeblocks.com
2,214 posts
·
Joined 2015
This is probably the culprit. USB is 5V, your battery is 12V. If the USB socket is alive, even if nothing is connected to it, the voltage regulator in the USB unit will draw some power ("phantom current" or "phantom power"). Depending on how good the device is, this can drain your battery in a few weeks.I also have a USB outlet for the GPS to plug into.
Somewhere behind the radiator is a spare plug which is intended to power heated grips - an optional accessory. This is a switched source: It only receives power when the ignition is on. This is an excellent source for power for anything that lives on or near the handlebars. You can either splice into the wires directly, or find the matching connector online. Eastern Beaver doesn't just sell fuse blocks, they also sell the right connector for this.
strompet42
Discussion starter
117 posts
·
Joined 2013
Thanks for that info, I will see if I have that plug on my bike.This is probably the culprit. USB is 5V, your battery is 12V. If the USB socket is alive, even if nothing is connected to it, the voltage regulator in the USB unit will draw some power ("phantom current" or "phantom power"). Depending on how good the device is, this can drain your battery in a few weeks. Somewhere behind the radiator is a spare plug which is intended to power heated grips - an optional accessory. This is a switched source: It only receives power when the ignition is on. This is an excellent source for power for anything that lives on or near the handlebars. You can either splice into the wires directly, or find the matching connector online. Eastern Beaver doesn't just sell fuse blocks, they also sell the right connector for this.

608 posts
·
Joined 2013
The answer to "how" is by using a relay. An existing switched power line activates the relay when the key is turned on. Otherwise the relay has no power to it. Popular switched circuits are the grip warmers or the brake lights circuits.My 2011 DL650... have anyone installed a 12v switchable fuse box to their bikes. I want one to be able to only turn o accessories when the bike is turned on. How do I install one. Thanks.
Here's a link to an article "Adding a Switch Fuse Block" at Relay Installation.
5,098 posts
·
Joined 2016
It's good to know about the different options.
Had a PC-8 on a previous DL650, but sold it with the bike, and have been too lazy/cheap to get one for the 2004 DL650 so far. Doing one 12V relay for my panel-mount USB charger/voltmeter combo, because it's cheap ($8) and I like tinkering with things, and don't care for the USB charger's constant (though small) draw when the bike is parked.
Heated grips are disconnected, until the fall. That may be a good time to finally get around to installing a "proper" power distro solution.
182 posts
·
Joined 2021
I had Fuzeblocks FZ-1 on a different bike a few years ago. It was excellent. On my current bike, I bought the Eastern Beaver PC8 last year (I was ordering other stuff from the website, and have purchased many things from them over the years). Anyway, the Eastern Beaver is every bit as awesome as the Fuzeblocks. I like that the Eastern Beaver allows you to wire circuits as switched or unstitched, but I can't remember if the Fuzeblocks had that option. Either one is a sold choice.
528 posts
·
Joined 2022
Electop 12V Fuse Block, Universal 20A Motorcycle Automotive Fuse Block Fuse and Relay Box Kit with 4 Circuits Low Profile Mini Blade Fuse Holder, Battery Fuse Box Terminal Block for 12 Volt Vehicles https://a.co/d/hmvpOB6
This looks nice for the money.
Any electrical gurus can tell why the Eastern Beaver or FZ1 is better?
This looks nice for the money.
Any electrical gurus can tell why the Eastern Beaver or FZ1 is better?
5,098 posts
·
Joined 2016
in no particular order: more circuits (8 vs 4), higher capacity (50A vs 20A), more flexibility (2 of the PC-8 circuits can be always-on).This looks nice for the money.
Any electrical gurus can tell why the Eastern Beaver or FZ1 is better?
FZ-1 offers fewer circuits (6) with corresponding lower overall amps. Ends up close to the same money as the PC-8. Still more capacity than the 4 circuit block.
If the 4-crkt block is all you need, nothing wrong with that. Save a few bucks.
My accessory power needs aren't so big. Phone charger, dashcam and heated grips together are maybe 15A and under 100W.
I power heated clothing from an SAE lead off the battery, so I don't need to pull any of that through a fuse panel.
398 posts
·
Joined 2017
I bought a similar one to this 3 years ago, may have been marine version. Inexpensive and works great.
32 posts
·
Joined 2023
The eastern beaver is great because you can order it with a harness that plugs directly into the brake light connector under the tank. No need to alter any wiring
2,214 posts
·
Joined 2015
Bring a flashlight. It's there but Suzuki somehow made it really hard to locate. In my case the connector was white (but black has also been reported) but it was taped over by black tape against the black radiator shroud. You really have to know what you're looking for, and the location also differs slightly from model/year to model/year.
Helps if you search for some info beforehand, specific for your model/year bike.
Helps if you search for some info beforehand, specific for your model/year bike.
5,098 posts
·
Joined 2016
FWIW, I looked at using the heated grips connector for forward accessory power (namely a panel-mount USB voltmeter/charger) on my 2004.
Two reasons I didn't:
1) while the circuit can easily support the modest power needs of a USB charger (35W max for the particular one I'm using), being part of the factory harness it has some voltage drop, so the voltmeter wouldn't be accurate.
2) PO had already installed a wire run for the Powerlet outlet I replaced with the USB doohickey. It's around $30 to get one of the EB adapters to use the factory heated grips plug. I'm adding an $8 relay and maybe $1 of wire to make the run to the USB charger switched. Waste not want not and such. Voltmeter is accurate as PO used big enough wires back to the battery. Should remain the case going through the relay (I'll check).
Everyone's got a slightly different situation, indicating different solutions. If I were setting up a stock DL650, I'd probably order the PC-8 or newer PC-8R* as well as the heated grips adapter. That heated grip adapter is a very elegant way to supply modest dash-area power needs, or even a voltmeter if you don't care about having an offset.
*Nobody brought up the Eastern Beaver PC-8R, but I think it's kinda cool and deserves consideration. It's a recent update of the PC-8, which adds some features, at a similar price level:
--CANBUS protection. I'm pretty sure this means diodes, to prevent any reverse current flow, which can make CANBUS things upset/damage them. Relevant for the Vstrom 800DE folks (and maybe 1050?)
--Has an automotive relay built into the box. You don't need an external wiring harness with relays for the switching, as you do with a PC-8. So it's a cleaner installation overall.
You still need a source of switched power, do-able either by an EB taillight adapter (my choice), or Posi-Tap on a nearby taillight wire.
There is some cost - lower overall capacity, max 40A, but that's still a lot of juice for your accessories. This is probably due to the relay being built into the board.
As with the original PC-8, you stlil get a choice of 2 unswitched circuits with your other 6.
2,214 posts
·
Joined 2015
40A at 12V is 480W. Depending on the exact model/year, your bike only has an excess electrical capacity of between 100W and 200W. So both the PC-8 at 50A and the PC-8R at 40A are way over what the bike can handle.lower overall capacity, max 40A,
5,098 posts
·
Joined 2016
Just placed an order for some 10 ga. wire, 10 ga. ring terminals (all tinned copper type, likely overkill but eh), heavy-duty 12V relay, and a 6-circuit fuse panel (ATC/ATO type) that is only marginally larger than a PC-8/PC-8R.
It's not quite as high-capacity or elegant as a PC-8 and won't have the flexibility (namely the always-on circuits), but it was less money, ships faster, and most importantly I like to tinker so it will be fun to put together.
It's not quite as high-capacity or elegant as a PC-8 and won't have the flexibility (namely the always-on circuits), but it was less money, ships faster, and most importantly I like to tinker so it will be fun to put together.
5,098 posts
·
Joined 2016
Yeah that's why I'm not bothering with anything fancy this time. It's massive overkill.
Some can use the flexibility (the two always on circuits).
Some can use the flexibility (the two always on circuits).
5,098 posts
·
Joined 2016
Most of the materials for my fuse panel setup came in - minus the 10 ga. ring terminals, they should be here later this week.
The 12V, 4-pole, weatherproofed relay I bought to feed the fuse panel can handle up to 40A. Clearly, it will never be working that hard, since as discussed the bike has no more than 200W to spare (14.1A @ 14.2V) and probably not even that much.
Might fuse the relay's line to the battery at 30A, could fuse it at 20A, shouldn't matter much. All the accessories I'll be connecting won't draw more than about 10A (142W @ 14.2V). They can't, as that's right about the max watts available.
If I start drawing too much juice through the accessory circuits, I'll see it on the dash voltmeter.
If something has a short, it'll blow its fuse (in the panel) first, as they'll be much smaller (5A or under).
The relay fuse is strictly a safety measure, in case I do something dumb, like put a wrench across the fuse panel terminals.
The relay itself is a chunky boi (pics later). I shopped around, but could not find a more compact one that was rated for "enough" amps, at the price level I was looking for ($10-ish). Yes, that's the cue for someone to post a link to a miniature weatherproofed 40A relay that's $4.99 shipped, from eBay or something.
Mr. Relay is sufficiently fat that I might mount him inside the tail side cover. Plenty of room there. Could stick it to the frame using 3M VHB.
I should draw out how this is going to work before I put it together. May have a drawing to post later, if anyone's curious.
2,835 posts
·
Joined 2019
Not sure if the 650 is the same as the 1st gen 1000, but I had room for relays across the front of the tool tray and the fusebox in the tool tray. Still room for the owners manual and doc on top of it.
![Image]()
![Image]()
![Image]()
5,098 posts
·
Joined 2016
Nice, very clean installation.
2004 650 is similar-ish layout under the seat.
I might have plenty of room in the same area for the fuse panel's relay, once I get things cleaned up. Since I've been getting by without a fuse panel/block, it's a bit of a mess at present.
2004 650 is similar-ish layout under the seat.
I might have plenty of room in the same area for the fuse panel's relay, once I get things cleaned up. Since I've been getting by without a fuse panel/block, it's a bit of a mess at present.
5,098 posts
·
Joined 2016
10 ga. ring terminals should be here today.
FWIW, 10 ga. is definite overkill. The power wires on the 40A relay are "only" 12 ga. But, I figured I might want some 10 ga. wire & ring terminals for something else at some point. And, the same weatherproof butt splice crimps can connect 10 to 12 gage.
FWIW, 10 ga. is definite overkill. The power wires on the 40A relay are "only" 12 ga. But, I figured I might want some 10 ga. wire & ring terminals for something else at some point. And, the same weatherproof butt splice crimps can connect 10 to 12 gage.
5,098 posts
·
Joined 2016
Schematic.
Where to get switched power to trigger the relay is personal preference. I already have an Eastern Beaver plug-in taillight adapter, originally installed to serve an Admore lighting kit for my top case. So, it's easy to tap that, using another Posi-Tap.
All the materials are here now, including the tinned 10 ga. ring terminals. I'm going to lay out all the components, taped to a piece of cardboard or something, to double-check what connects to what, before I cut, strip, crimp, or heatshrink anything.
Warning: religious content ahead!
I am going to do crimps on all the connections. I have those butt splice connectors with glue inside, that, once you've crimped them, you hit with a heat gun and they shrink and melt the glue, producing a watertight and durable connection. Have used them several times before on the Yama FJR and on the DL1000 before that.
Speaking of which, I think it's time I bought a better crimping tool. I've been struggling with the cheapo crimper/splicer for too long. It works - mostly - but is a PITA and often requires re-dos.
I do have a pretty sweet Molex terminal crimper, but it's only for open-barrel terminals, which the butt splicers (and ring terminals) I have are not.

5,098 posts
·
Joined 2016
Further progress will be delayed a week or so.
I got all the components laid out on a table, figured out what would connect to what, how many of what crimpy things I needed and where, places I would need to strip wire ends, crimp terminals on, and the like.
Tested the relay by hooking up its "signal" terminals (where you apply +12V to turn on the power) to a 12V power supply (wall wart). Click. Did it again a few times for fun. Click click click. Neat!
(Safety mention: I do NOT recommend doing this by touching the relay's wire ends to your battery terminals directly.
I considered that, but realized I would be creating a short circuit. With likely spectaular results.
The 12V wall wart only supplies up to a few amps, no matter what you plug it into. Much safer for testing things 12V.)
Then I tried to do a butt splice crimp, using my shiny new Klein Tools 3005CR:
homedepot.com/p/Klein-Tools-Ratcheting-Crimper-3005CR/306884697
and some heat shrink butt splice connectors. They're the kind with the rubbery shell, and glue inside. Do the crimp, hit 'em with a heat gun, the covering shrinks, glue oozes, and seals up the whole thing. I love these for all kinds of projects. Here's the type I mean:
Gardner Bender 22-10 AWG Butt Splice Heat Shrink, Assortment (24-Pack) GBX-TK - The Home Depot
Guess what, that crimper is totally useless with these connectors. It doesn't squeeze far enough, so the crimp is very loose, and the wires easily slip out.
I got better results using my old, pain in the butt stripper/crimper tool, which is similar to this:
IDEAL Crimper, 10-22 Awg Solid, 10-22 Awg Stranded in the Wire Strippers, Crimpers & Cutters department at Lowes.com
Reading some reviews, I learned that the Klein 3005CR only works with terminals and butt splicers having a hard plastic shell. That is, the ones that are insulated, but not weatherproof or heat-shrink.
Would have been nice if it said that on the package.
A ratcheting crimper that does work with heat shrink connectors is on order, along with some new 10-12 ga butt splicers. I only had a handful of 10-12 ga butt splicers, and ruined a few trying to get the Klein tool to work.
5,098 posts
·
Joined 2016
It's mostly done. No, I didn't stop to take pictures.
It turns out these:
Are surprisingly decent for adding side connections on motorcycle battery terminals.
More on that later.
I got all connections crimped and the relay and fuse panel hooked up. Worked on the first try.
More on that later as well.
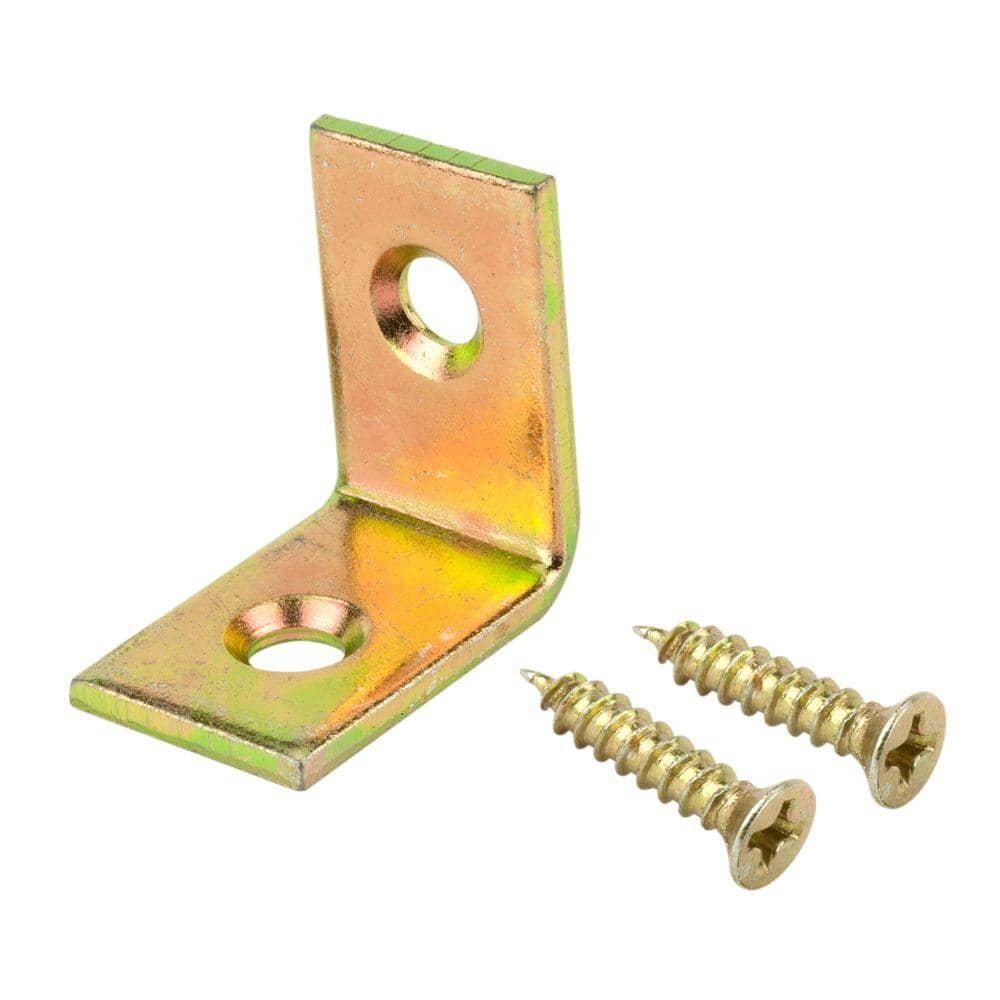
It turns out these:
Everbilt 3/4 in. Satin Brass Corner Brace (4-Pack) 20374 - The Home Depot
Visit The Home Depot to buy 3/4 in. Satin Brass Corner Braces (4-Pack) 20374
www.homedepot.com
Are surprisingly decent for adding side connections on motorcycle battery terminals.
More on that later.
I got all connections crimped and the relay and fuse panel hooked up. Worked on the first try.
More on that later as well.
5,098 posts
·
Joined 2016
A thought on ratcheting crimpers: They are good, but not the be-all and end-all.
With the new ratcheting crimper, which is designed to work with heatshrink-insulated crimpers, I find it does produce a good crimp, when crimping a 10-12 ga. butt splicer to a 10 ga. wire.
Specifically, this is the new crimper:
Wirefy Crimping Tool For Heat Shrink Connectors - Ratcheting Wire Crimpers - Crimping Pliers - Ratchet Terminal Crimper - Electrical Crimping Tool - 22-10 AWG - Amazon.com
It is naturally quite similar to the Klein Tools crimper I returned, which was intended only for terminals and butt splicers using the hard plastic shell (non-heatshrink, insulated but not weatherproof) type crimp connectors.
The crimping die is different. It has a single crimping "zone" or set of "teeth", vs. the Klein Tools dies which had 2 rows.
That is actually an improvement. It means you can crimp 1 side of a butt splice at a time, and can more precisely control where crimping happens, when doing terminals.
Caveat: it does not crimp sufficiently on to 12 ga. wire. I found that I had to supplement the 12 ga. side of a 10-12 ga. butt splice, using a non-ratcheting hand crimper. Otherwise the wire could pull out.
A note on wire: While it does appear to be legit tinned copper wire, the 10 ga. wire I bought off Amazon has one drawback: The strands are very fine.
That causes some problems. When you are trying to feed a stripped wire end into a butt splicer or terminal, a few strands tend to catch and end up outside the terminal or splicer barrel.
If I need to do further wiring, I'll make the trip to the boat store for some Ancor tinned wire. I have some of their 16 ga. wire and it does not use these tiny hair-like strands.
-
?
-
?
-
?
-
?
-
?
-
?
-
?
-
?
-
?
-
?
-
?
-
?
-
?
-
?
-
?
-
?
-
?
-
?
-
?
-
?
- posts
- 1.8M
- members
- 72K
- Since
- 2003
A forum community dedicated to all Suzuki Strom owners and enthusiasts. Come join the discussion about performance, modifications, troubleshooting, purchasing, reviews, accessories, maintenance, and more!


